Ginger ale has long been a go-to remedy for stomach discomfort. It has been praised for easing nausea, gas, and other digestive issues for generations. But does it truly live up to its reputation? This article explores whether ginger ale is good for your stomach and separates myths from facts. By understanding its components, types, and alternatives, you’ll be better equipped to decide whether ginger ale is the right choice for digestive relief.
What Makes Ginger Ale Popular for Stomach Issues?
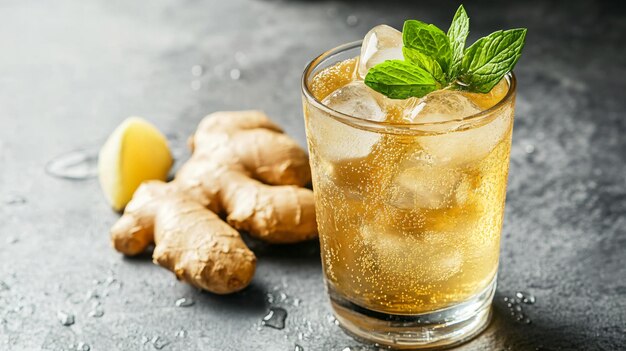
Ginger ale owes its popularity as a stomach-soothing drink to two main factors: ginger and carbonation.
The Role of Ginger in Digestive Health
Ginger is a well-known natural remedy for digestion. It contains compounds like gingerol and shogaol, which can reduce inflammation and improve gut motility. These properties make ginger beneficial for conditions like acidity, gas, and nausea. In fact, studies show ginger can alleviate morning sickness and post-surgery nausea, making it a versatile choice for gut health.
How Does Carbonation Contribute?
Carbonation in ginger ale offers another layer of relief. The bubbles can stimulate burping, which helps release trapped gas in the stomach. For some people, this can lead to quick relief from bloating. However, this effect depends on personal tolerance to carbonated drinks, as excessive gas from carbonation may worsen symptoms for certain individuals.
Is Drinking Ginger Ale Good for Your Stomach?
Combining ginger’s natural benefits with the soothing effect of carbonation explains why ginger ale is commonly used for upset stomachs. But the big question remains: is ginger ale soda good for your stomach? The answer lies in the quality and quantity of ginger in the drink, as well as individual reactions to sugar and carbonation.
Myths vs. Facts: Does Ginger Ale Really Help?
While ginger ale has a reputation for soothing upset stomachs, its actual effectiveness can vary. Let’s dive into the myths versus facts surrounding this popular remedy.
How Much Ginger Is in Commercial Ginger Ales?
Most store-bought ginger ales, like Schweppes or Canada Dry, contain minimal real ginger. In fact, the ginger flavor often comes from artificial or highly diluted extracts. These low concentrations of ginger may not provide enough of the active compounds needed for therapeutic benefits.
The Role of Sugar and Carbonation
Commercial ginger ales are often high in sugar. For example, a can of Schweppes ginger ale contains about 33 grams of sugar. While sugar can provide a quick energy boost, it may irritate sensitive stomachs or worsen issues like diarrhea. Diet ginger ale, which uses artificial sweeteners, might not fare much better as certain sweeteners can cause bloating or gas.
Carbonation, while helpful for some, can also be a double-edged sword. For those with acid reflux, the carbonated gas can exacerbate symptoms rather than relieve them. So, while flat ginger ale might be easier on the stomach, it loses the burping effect of carbonation.
Is Ginger Ale Good for Nausea?
When it comes to nausea, the effectiveness of ginger ale heavily depends on its ginger content. Homemade or specialty ginger ales with higher concentrations of real ginger might help more. However, commercial varieties with little real ginger and high sugar levels may not be as effective.
Is Ginger Ale Good for Your Upset Stomach?
Ginger ale may help mildly upset stomachs due to its soothing ingredients. But for significant relief, choosing a ginger ale with real ginger or opting for a natural ginger infusion might be more beneficial.
Different Types of Ginger Ale and Their Effects
The type of ginger ale you choose matters. Let’s examine the differences and variations among popular brands.
1. Schweppes and Vernors
Schweppes and Vernors are widely available commercial brands. While they offer ginger flavor, the actual ginger content is minimal. Schweppes is lightly carbonated, making it less likely to cause gas build-up. On the other hand, Vernors is sweeter and more carbonated, which might not suit sensitive stomachs.
2. Reed’s Ginger Ale
Reed’s is a standout option for those seeking more authentic ginger content. It uses fresh ginger root, making it a stronger choice for therapeutic purposes. If you’re wondering, is Reed’s ginger ale good for your stomach? The answer is yes, especially if you want the benefits of real ginger.
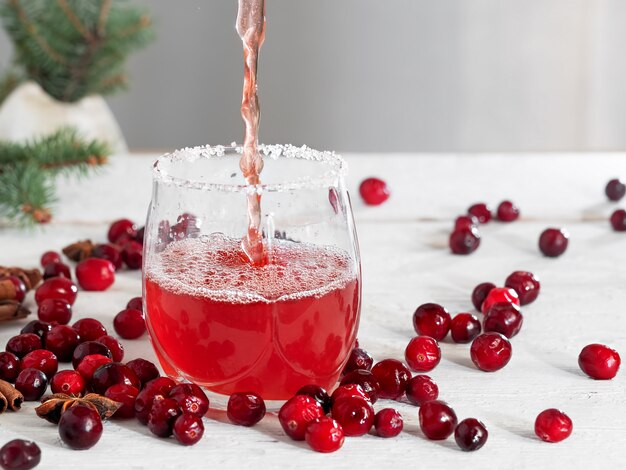
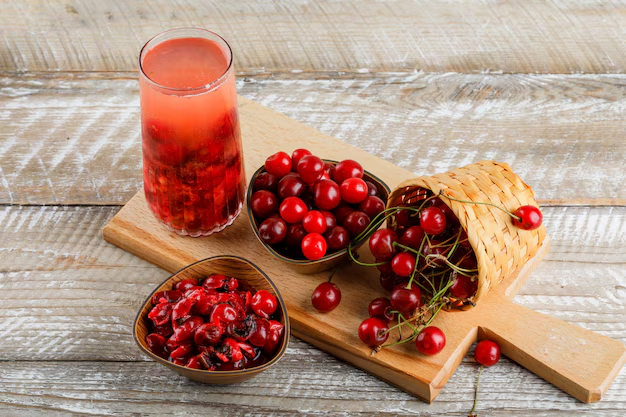
3. Cranberry Ginger Ale
Cranberry ginger ale offers a fruity twist. Cranberries are rich in antioxidants and have mild anti-inflammatory properties. However, this variation often contains added sugars, which could counteract its potential benefits. If you’re considering whether cranberry ginger ale is good for your stomach, its benefits largely depend on the brand and sugar levels.
What’s the Best Ginger Ale for an Upset Stomach?
For digestive relief, opt for brands like Reed’s or homemade versions with fresh ginger. These contain higher levels of real ginger, providing the therapeutic benefits you’re looking for.
Comparing Remedies: Ginger Ale vs. Other Drinks
Ginger ale isn’t the only option for stomach relief. Here’s how it compares to other remedies.
Coke vs. Ginger Ale
Some people swear by Coke for upset stomachs. Coke’s acidity can help break down food, but its high sugar content and lack of therapeutic ingredients like ginger make it less effective than ginger ale.
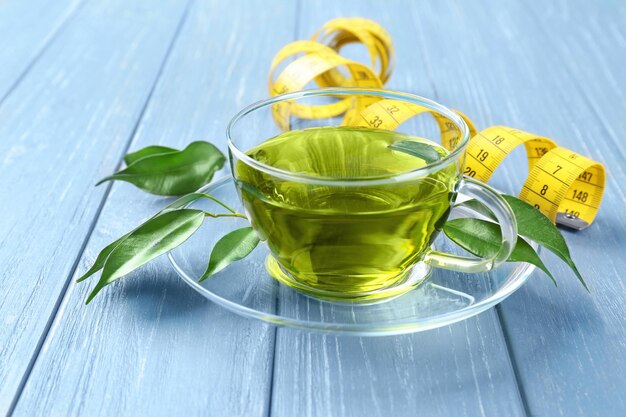
Herbal Teas
Herbal teas like chamomile or peppermint offer excellent alternatives. These teas soothe the stomach without the added sugar or carbonation found in ginger ale. Peppermint, in particular, can relax the stomach muscles and ease bloating.
Plain Water and Electrolyte Drinks
For those with diarrhea or dehydration, plain water or electrolyte drinks like Pedialyte may be more effective. These replenish lost fluids without the risk of gas or sugar irritation.
What Is the Best Drink for an Upset Stomach?
It depends on your symptoms. If nausea is the main issue, real ginger ale or ginger tea is ideal. For dehydration, stick to water or electrolyte solutions.
Who Should Avoid Ginger Ale?
While ginger ale can offer stomach relief for some, it’s not suitable for everyone. Certain groups may experience adverse effects or need to exercise caution when consuming this drink.
Diabetics and Sugar-Sensitive Individuals
Most commercial ginger ales contain high levels of sugar, with some brands packing over 30 grams per serving. For patients suffering from diabetes, this spike in sugar can lead to increased blood sugar levels, posing health risks. Even diet ginger ale, which uses artificial sweeteners, might cause bloating or digestive discomfort for sensitive individuals. If you’re wondering, Can ginger upset your stomach?—the answer lies in these additives rather than the ginger itself.
People with Acid Reflux
Carbonation in ginger ale can exacerbate symptoms of acid reflux. The bubbles may increase stomach pressure, pushing acid back into the esophagus. For those prone to heartburn or GERD, ginger ale is often more irritating than soothing. Additionally, sugary varieties can make acid reflux worse.
Empty Stomach Concerns
Some people experience stomach irritation from drinking ginger ale on an empty stomach. While fresh ginger tea is generally safe, carbonated drinks can sometimes lead to bloating or mild nausea. So if you’re asking, Can I drink ginger on an empty stomach? Stick to fresh ginger or teas rather than soda-based drinks.
Tips for Using Ginger Effectively for Stomach Issues
For those who want the benefits of ginger without the drawbacks of commercial ginger ale, there are alternative ways to incorporate ginger into your diet.
Opt for Natural Alternatives
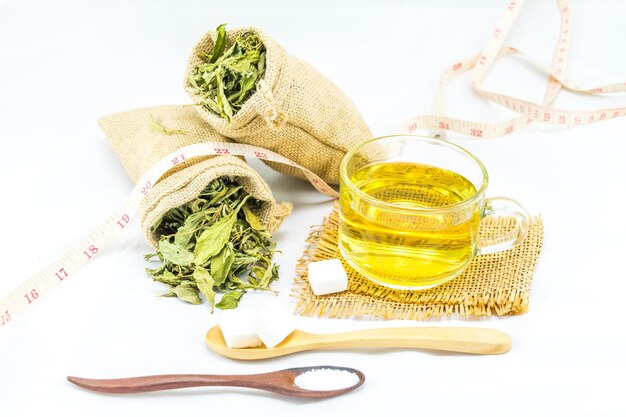
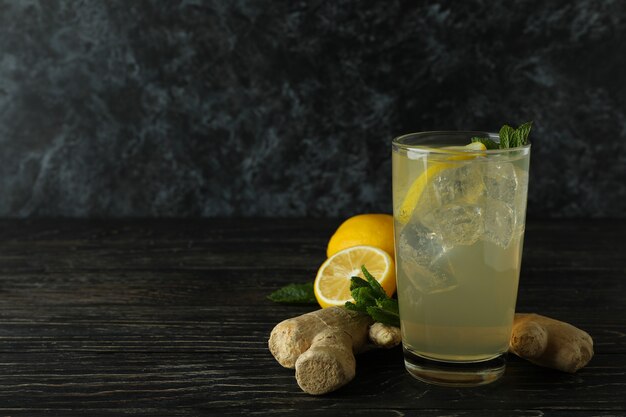
Fresh ginger tea is an excellent substitute for ginger ale. Simply steep fresh ginger slices in hot water for 10 minutes and add honey for sweetness. This eliminates added sugars and carbonation, providing a more concentrated dose of gingerol—the active compound in ginger.
Ginger chews or capsules are also effective, particularly for motion sickness or nausea. These products offer controlled dosages and fewer additives compared to ginger ale.
Natural Ways to Reduce Acidity and Gas
If acidity or bloating is your main concern, you can try simple natural remedies.
- Baking soda and water: Mix half a teaspoon of baking soda in a glass of water to neutralize stomach acid quickly.
- Peppermint tea: It relaxes stomach muscles and reduces bloating naturally.
- Smaller meals: Eating smaller portions and avoiding heavy, fatty foods can prevent gas and acidity.
If you’re curious about the fastest way to neutralize stomach acid, a combination of these tips and a calming herbal tea can provide quick relief.
FAQs
Is diet ginger ale good for your stomach?
Diet ginger ale may soothe mild stomach discomfort due to carbonation and ginger flavoring. However, it often lacks real ginger, which provides therapeutic benefits. Artificial sweeteners may also irritate sensitive stomachs. Fresh ginger or ginger tea is generally a better alternative for effective relief.
What is the best ginger ale for an upset stomach?
Ginger ales with real ginger, like Reed’s or Vernors, are often considered the best for an upset stomach. They provide natural ginger compounds that aid digestion and reduce nausea. However, always check the label to ensure authentic ginger content rather than artificial flavoring.
Can ginger ale replace ginger tea?
Ginger ale cannot fully replace ginger tea. Most commercial ginger ales contain minimal real ginger and added sugars, reducing their therapeutic benefits. Ginger tea, made with fresh or powdered ginger, offers concentrated gingerol, which effectively soothes digestive issues and reduces nausea, making it a superior choice.
Is flat ginger ale better for stomach issues?
Flat ginger ale may be gentler on the stomach compared to carbonated versions, as it avoids bloating caused by gas. However, like regular ginger ale, its benefits are limited without real ginger. Fresh ginger or tea remains a more effective remedy for stomach issues.
Conclusion
Ginger ale has its place as a potential remedy for mild stomach issues, but it’s not a one-size-fits-all solution. While it can help with bloating and nausea, its high sugar content, carbonation, and minimal ginger levels make it less effective than natural alternatives like fresh ginger tea. For those sensitive to sugar or prone to acid reflux, ginger ale might cause more harm than good.
So, Is there any benefit to drinking ginger ale? Yes, but primarily when it’s made with real ginger and consumed in moderation. As for Whether ginger ale is good for weight loss, the answer is no—its sugar content outweighs any negligible calorie-burning benefits.