When it comes to quick and crowd-pleasing dinner options, the Taco Ring is a standout star.
This delightful dish combines the beloved flavors of tacos with the elegance of a crescent roll ring.
Perfect for parties, family dinners, or even just a casual night in, the Taco Ring is a versatile recipe that never disappoints.
| Name | The Taco Ring Recipe: A Tasty Twist |
| Cuisine | Mexican |
| Prep Time | 15 minutes |
| Cooking Time | 25 minutes |
| Total Time | 40 minutes |
| Servings | 8 |
| Yield | 1 Taco Ring |
Ingredients
For the Taco Filling:
- 1 pound ground beef (or ground turkey for a leaner option)
- 1 small onion, finely chopped
- 1 packet taco seasoning mix
- 1/4 cup water
- 1 cup shredded cheddar cheese
- 1 cup diced tomatoes
- 1/2 cup sliced black olives (optional)
- 1/2 cup diced green bell pepper (optional)
For the Taco Ring:
- 2 cans refrigerated crescent rolls
- 1 cup shredded lettuce
- Sour cream and salsa for serving
Instructions
Preheat the Oven
Start by preheating your oven to 375°F (190°C).
Prepare the Taco Filling
In a skillet over medium heat, cook the ground beef (or turkey) until browned and crumbled. Drain any excess fat. Add the chopped onion and cook for a few more minutes until the onion is translucent.
Season the Filling
Stir in the taco seasoning mix and water. Simmer for about 5 minutes or until the mixture thickens and becomes flavorful. Remove from heat and set aside.
Assemble the Taco Ring
Unroll the crescent roll dough and separate it into triangles. Arrange them on a round pizza pan or baking sheet with the wide ends of the triangles overlapping in a circle, forming a ring.
Add the Filling
Spoon the taco meat mixture onto the wide part of each crescent triangle. Sprinkle shredded cheese on top of the meat.
Fold and Bake
Fold the pointed ends of the crescent rolls over the filling and tuck them under to secure. The filling will be partly visible, resembling a ring. Place it in the preheated oven and bake for 20-25 minutes, or until the crescent roll ring turns golden brown.
Garnish and Serve
Once out of the oven, let the Taco Ring cool for a few minutes. After cooling slightly, garnish the ring with shredded lettuce, diced tomatoes, and sliced olives or green peppers if desired. You can also add a dollop of sour cream and salsa in the center for dipping.
Slice and Enjoy
To serve, simply slice the Taco Ring between each crescent roll section. Each slice will reveal the delicious layers of taco meat and melted cheese inside the crispy crescent roll
Nutrition Facts (Approximate per Serving)
- Calories: 290
- Total Fat: 16g
- Saturated Fat: 7g
- Trans Fat: 0g
- Cholesterol: 50mg
- Sodium: 660mg
- Total Carbohydrates: 21g
- Dietary Fiber: 1g
- Sugars: 3g
- Protein: 14g
10 Simple The Taco Ring Recipes
Looking to elevate your Taco Tuesday game? Try the Taco Ring recipe—a delicious twist on traditional tacos! This creative dish features seasoned ground beef, zesty salsa, and gooey cheese, all neatly wrapped in crescent roll dough. It’s quick, easy, and perfect for sharing. Enjoy a delightful fusion of flavors and textures in every bite with this fun and flavorful recipe!
1. Chicken Taco Ring

Swap ground beef for shredded cooked chicken. Season with taco seasoning and mix with
diced onions and bell peppers. Follow the same steps as the classic recipe for a tasty chicken twist.
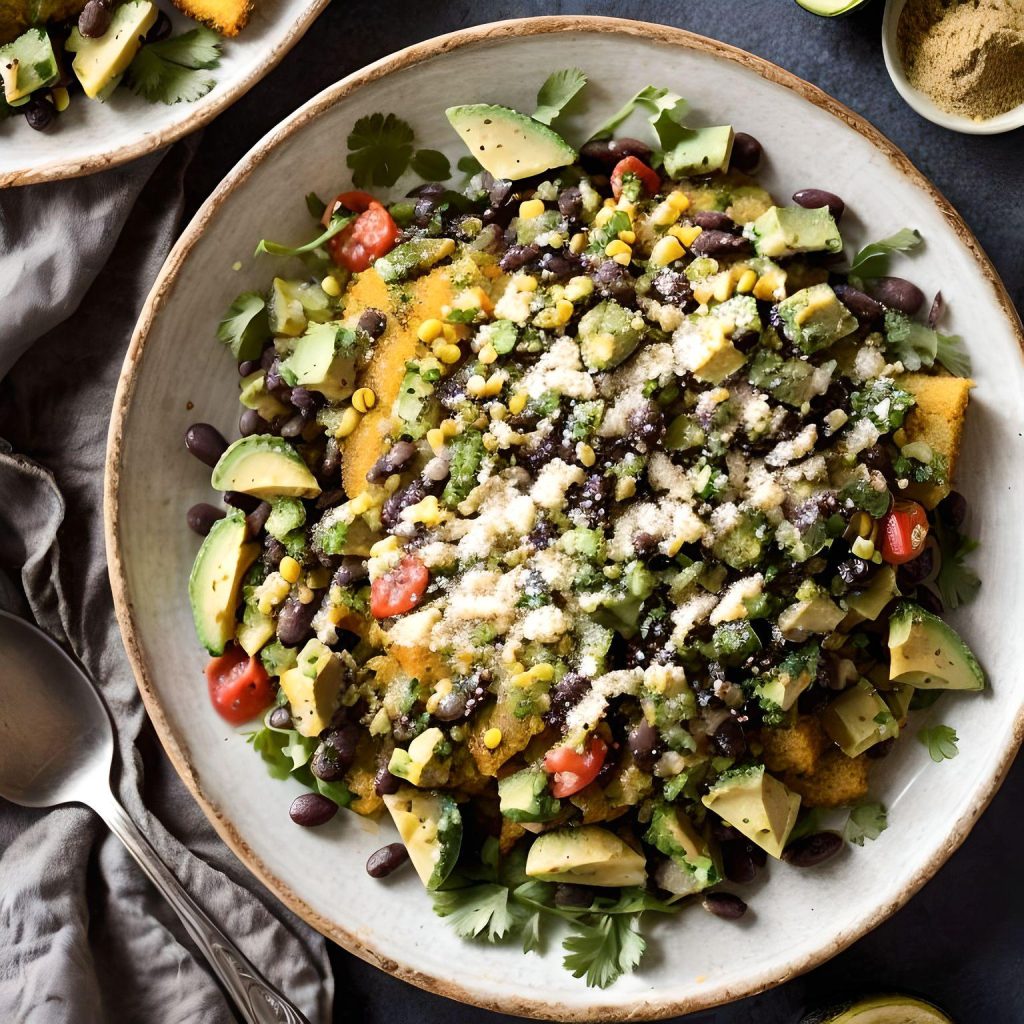
2. Vegetarian Taco Ring

Replace the meat with black beans, corn, and sautéed veggies like bell peppers and onions. Season with taco seasoning and create a flavorful vegetarian option.
3. Taco Ring Bites

Make mini Taco Ring Bites by using smaller crescent roll triangles. Perfect for appetizers or snacks at parties.
4. Breakfast Taco Ring

Fill the ring with scrambled eggs, cooked breakfast sausage, and shredded cheddar cheese.
Top with salsa and sour cream for a breakfast treat.
5. Taco Ring Pizza

Transform your Taco Ring into a Mexican-inspired pizza by adding pizza sauce, shredded cheese, and your favorite pizza toppings.
6. Seafood Taco Ring

Use cooked shrimp or crab meat seasoned with taco spices for a delightful seafood taco ring. Add diced tomatoes and cilantro for freshness.
7. BBQ Taco Ring

Incorporate BBQ pulled pork, coleslaw, and cheddar cheese for a BBQ-flavored Taco Ring. Drizzle with BBQ sauce before serving.
8. Tex-Mex Taco Ring

Enhance the flavors with Tex-Mex ingredients like jalapeños, Monterey Jack cheese, and avocado slices. Top with salsa and sour cream.
9. Mini Taco Ring Empanadas

Create mini empanadas by folding the crescent rolls in half over the taco filling. Seal the edges and bake for a portable snack.
10. Taco Ring with Guacamole

Serve the Taco Ring with a side of homemade guacamole, made from ripe avocados, tomatoes, onions, lime juice, and cilantro, for a fresh and creamy dip.