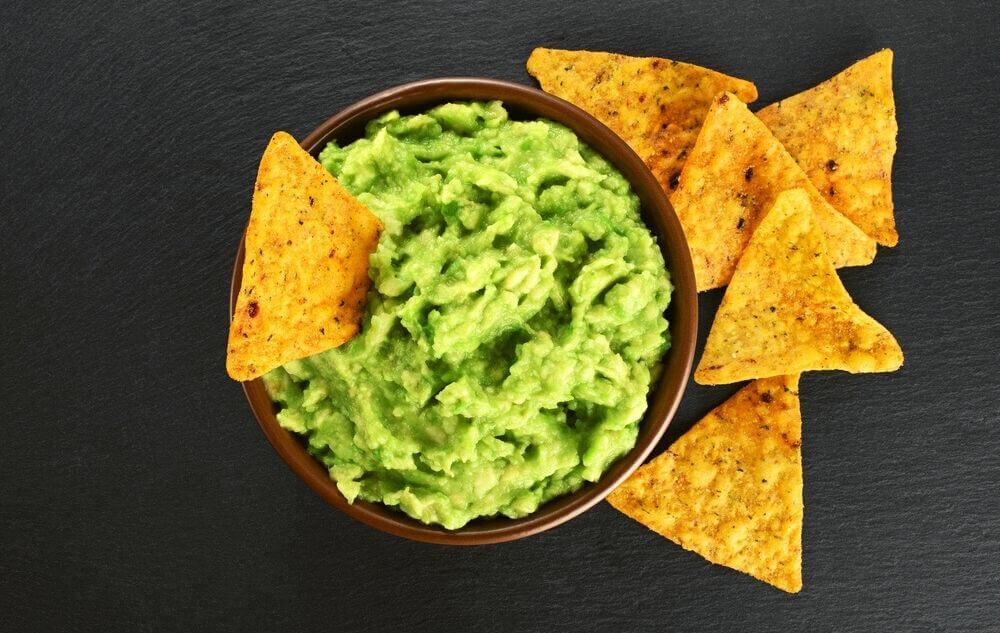
Imagine this: it is lunchtime after a long morning shift, and you suddenly have a craving for a delicious sub sandwich. And that footlong from Subway is all you can think of right now.
The best part is you can find a Subway right around the corner. No need to walk too far. For their convenient locations, delicious sandwiches, (and so many ads!) Subway has become very popular among people.
With this much popularity, you may be wondering, is Subway healthy for us? Let us try to find the answer and see how we can eat healthy from Subway.
You may also like: Are Burritos Healthy
What Is in the Subway Sandwich?

Subway is mainly famous for its signature item, the footlong. This sandwich is made from twelve-inch-long bread. Customers may customize their sandwiches by selecting their choice of bread, meats, vegetables, cheeses, and sauces. For bread, Subway offers you 16 different options to choose from.
The meat options for a Subway sandwich are turkey breast, chicken breast, ham, roast beef, tuna, turkey salami, bacon, meatballs, beefsteak, pepperoni, turkey bologna, shaved steak, etc.
The veggie options available are lettuce, tomatoes, red onions, green peppers, pickles, black olives, cucumbers, banana peppers, jalapeño peppers, etc.
Is Subway Healthy – What Happens When You Eat Their Sandwich?

Based on your choices, Subway can be good or bad. We’ll discuss the drawbacks and benefits:
Drawbacks of Subway:
Let’s get to know the negative points first.
A Rise in Blood Sugar Spike:
A footlong sub cooked with 9-grain wheat bread contains 76-104 grams of carbohydrates. This many carbohydrates may induce a spike in blood sugar. Including enough protein and healthy fats in your sandwich can help lessen the meal’s glycemic load and thus regulate blood sugar.
Gain Weight:
Choosing high-fat and high-calorie subs may result in weight gain. A footlong sandwich like the Chicken and Bacon Ranch sub has over 1,000 calories and 51 grams of fat. With a side of chips and a standard drink, you might consume all your daily calorie requirements in one session.
This is very harmful to your health, and you do not want to eat only one meal a day.
Increasing the Risk of High Blood Pressure, Heart Disease, and Stroke:
Subway always claims that their subs are healthy. But that’s not true for all the subs in their menu. Some of the sandwiches contain a high level of sodium in them. When you consume a high-sodium diet frequently, you might raise your chance of developing conditions such as high blood pressure, heart disease, or stroke.
The sodium intake of those who already have these problems should be monitored with more care. When it comes to Subway, the Tuna or Veggie Delight subs are a good choice because they are lower in salt.
Feeling Bloated or Nauseated:
What happens when you eat more than your body can take in one sitting? You will start to feel sick. That is what happens when you eat a sizeable footlong sub in one sitting, which your body is not used to.
You will feel bloated, nauseous and may even feel heartburn. Considering the sodium amount, it can even make your fingers and toes bloat as well.
Benefits of Subway

Let’s get acquainted with the benefits now.
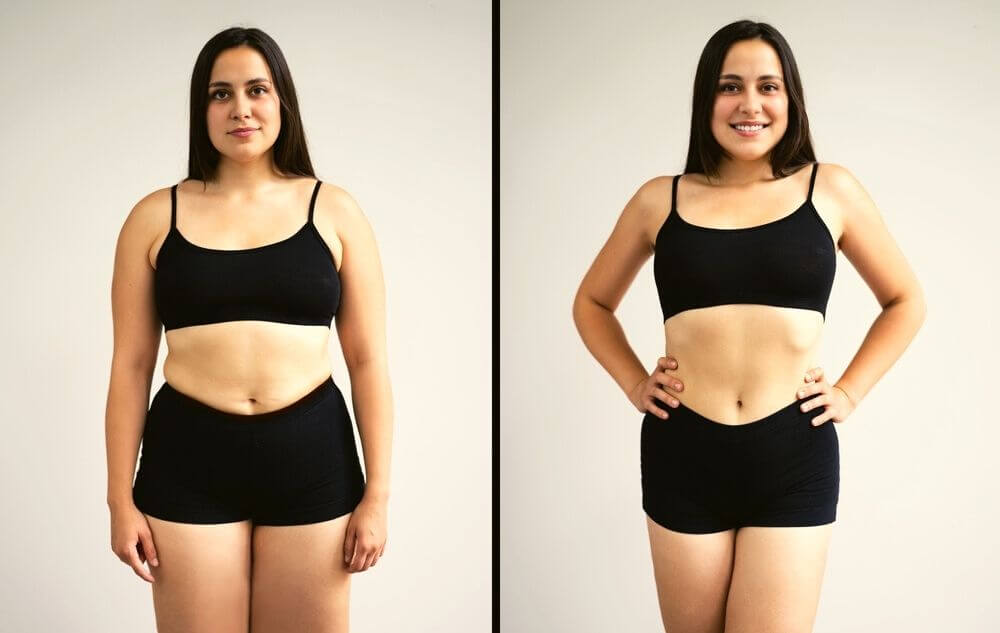
Lose Weight:
You may lose weight by choosing low-calorie sandwiches like a foot-long vegetarian with low-calorie sauces. When you choose a Veggie Delite sub sandwich of 9-grain wheat bread or brown bread, only vegetables, and no cheese or sauce, this meal will be under 400 calories.
Replacing your lunch with a Footlong Veggie Delite sub saves you roughly 600 calories. If you choose a 6-inch sub instead of the 12-inch one, it will cut your calorie and fat consumption in half.
Healthy Bowel Movements:
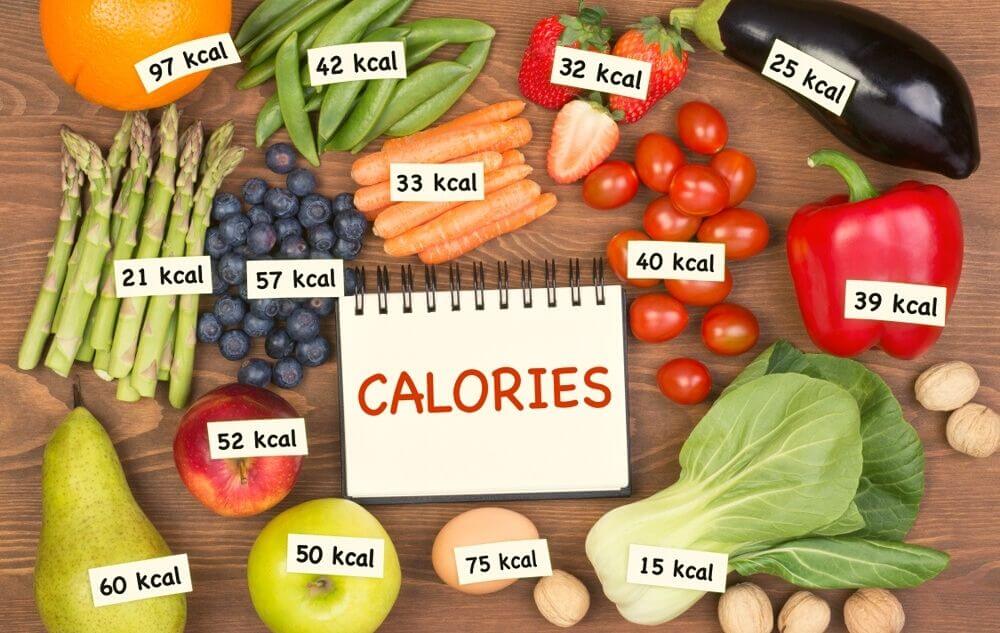
According to recommended amounts, most individuals should consume roughly 28 grams of fiber per day for a healthy bowel movement. A footlong served with brown bread, and all the veggies can contain 10 grams of fiber which is almost 40% of the fiber you need for the whole day.
A Perfect Healthy Combo for the Body:
Subway’s sandwich can be the best combo for your body if you choose the ingredients wisely. When you add more vegetables to your meal, you are making it more fiber and antioxidant rich.
The whole-grain buns are fully rich in fiber, and they can fulfill 20% of the daily required fiber for women and 13% for males. If you choose turkey breast as your protein option, it has its own benefits too.
Turkey breasts are good for the heart as they are low in fat and have high protein. With the low-calorie selections, more vegetables, and avoiding fatty sauces and cheese, Subway is an excellent choice.
Frequently Asked Questions (FAQs)
Is Subway healthier than McDonald’s?
Subway foods have less sugar and more vegetabes than MacDonalds, and thus have a slight edge in terms of the health factor.
Is Subway chicken processed?
Yes, they are processed as they have additives.
Does Subway use fake chicken?
No, they use 100% real chicken.
Conclusion
You may again ask yourself the question should I go to Subway again? The answer is definitely yes! But keep in mind that you must take care of your body and follow a nutritious and balanced diet. So, order according to that. If your friends ask, Is Subway Healthy? Please do not wait and send them this article to find out.