If you’re a fan of smoky, cheesy goodness, then you’re in for a treat
We’ll walk you through the steps to create the best-smoked queso recipe that will have your taste buds dancing with delight.
Whether you’re hosting a barbecue, a game day party, or just craving some cheesy indulgence, this recipe is sure to be a crowd-pleaser.
| Name | Best Smoked Queso Recipe |
|---|---|
| Cuisine | Mexican and American |
| Prep Time | 15 minutes |
| Cooking Time | 30 minutes |
| Total Time | 45 minutes |
| Servings | 10 |
| Yield | 1 skillet of smoked queso |
Ingredients
- 1 pound of high-quality shredded cheddar cheese
- 1/2 pound of shredded Monterey Jack cheese
- 1/2 pound of cream cheese, softened
- 1 cup of diced tomatoes (canned or fresh)
- 1/2 cup of diced green chilies
- 1/4 cup of diced red onion
- 1/4 cup of chopped fresh cilantro
- 1 teaspoon of chili powder
- 1 teaspoon of cumin
- 1/2 teaspoon of smoked paprika
- Salt and pepper to taste
Instructions
Step 1: Preparing the Smoker
Begin by preheating your smoker to a temperature of 250°F (120°C). You can use wood chips or chunks for a smoky flavor. Mesquite, hickory, or oak are great options for a rich smoky taste.
Step 2: Combining the Cheeses
In a large mixing bowl, combine the shredded cheddar cheese, Monterey Jack cheese, and softened cream cheese. Mix them well to create a creamy cheese base.
Step 3: Adding Flavor
To the cheese mixture, add the diced tomatoes, diced green chilies, diced red onion, chopped cilantro, chili powder, cumin, and smoked paprika. Mix everything together until all the ingredients are evenly distributed.
Step 4: Smoking the Queso
Transfer the cheese mixture to an oven-safe, smokeproof dish or cast-iron skillet. Place the dish or skillet on the smoker grates.
Step 5: Smoking Time
Smoke the queso for about 30-40 minutes or until it develops a beautiful smoky flavor and the edges start to bubble and brown slightly.
Step 6: Seasoning and Serving
Once the queso is smoked to perfection, remove it from the smoker. Taste and season with salt and pepper as needed. Garnish with extra cilantro if desired.
Step 7: Enjoy!
Serve your smoked queso hot with tortilla chips, nachos, or fresh vegetables for dipping. Watch as your guests devour this delectable, smoky, cheesy goodness.
There you have it – the ultimate guide to the best-smoked queso recipe. With the perfect blend of smokiness and cheesy goodness, this dish is bound to be the star of any gathering. So fire up your smoker and get ready to savor every bite of this delicious treat. Enjoy!
Nutrition Facts
| Nutrition | Amount Per Serving |
| Calories | 220 |
| Total Fat | 17g |
| Saturated Fat | 10g |
| Cholesterol | 53mg |
| Sodium | 390mg |
| Total Carbohydrates | 6g |
| Dietary Fiber | 1g |
| Sugars | 3g |
| Protein | 10g |
10 Simple Best Smoked Queso Recipes
Indulge in the ultimate cheesy delight with the best smoked queso recipe. This mouthwatering blend of smoked cheese, jalapeños, and spices creates a creamy, smoky dip that’s perfect for any gathering. Get ready to elevate your appetizer game!
1. Smoked Bacon Queso

Add crispy bacon bits to your smoked queso for a savory twist. Fry bacon until crispy, crumble it, and mix it into the cheese blend. The smokiness of the bacon pairs perfectly with the creamy queso.
2. Smoked Sausage Queso

Incorporate smoked sausage for a hearty and flavorful queso. Dice the smoked sausage, sauté until browned, and mix it into the cheese mixture. This adds a satisfying meaty element to your dip.
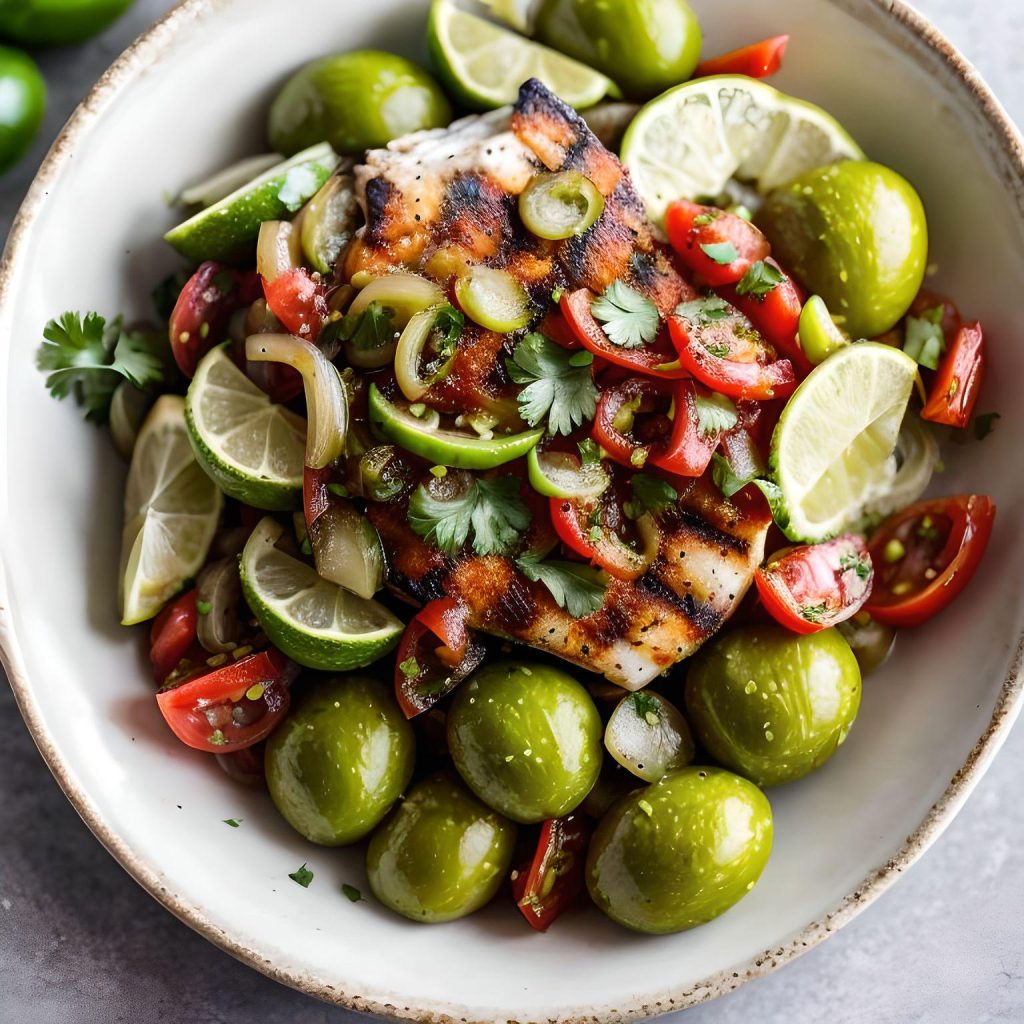
3. Smoked Chicken Queso

Smoked chicken adds a delightful smokiness to traditional queso dip. This fusion of flavors and textures creates a mouthwatering appetizer that’s perfect for gatherings. Learn how to make this irresistible smoked chicken queso today.
4. Smoked Veggie Queso

Create a vegetarian version by adding smoked vegetables. Smoke bell peppers, onions, and corn, then chop and mix them into the queso. It’s a colorful and flavorful twist.
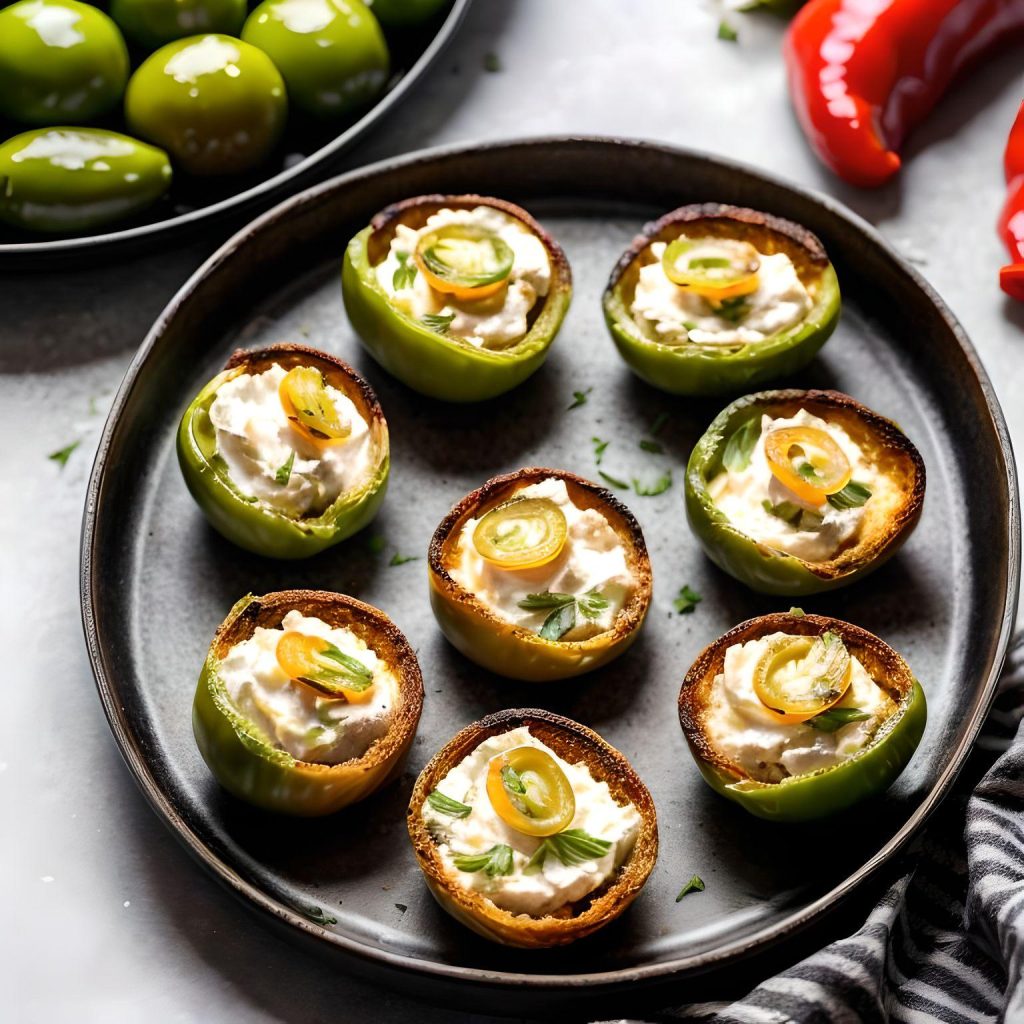
5. Smoked Jalapeño Queso

For a spicy kick, smoke jalapeños before dicing and adding them to the cheese blend. This creates a smoky, spicy queso that’s perfect for spice lovers.
6. Smoked Pulled Pork Queso

Transform your queso into a full meal by adding tender smoked pulled pork. Mix the pork into the cheese mixture for a hearty, smoky delight.
7. Smoked Guacamole Queso

Enhance your queso with a scoop of homemade smoked guacamole. The smokiness of the avocados complements the cheesy dip beautifully.
8. Smoked Seafood Queso

Experiment with seafood by adding smoked shrimp or smoked salmon. Chop the smoked seafood and gently fold it into the queso for a sophisticated twist.
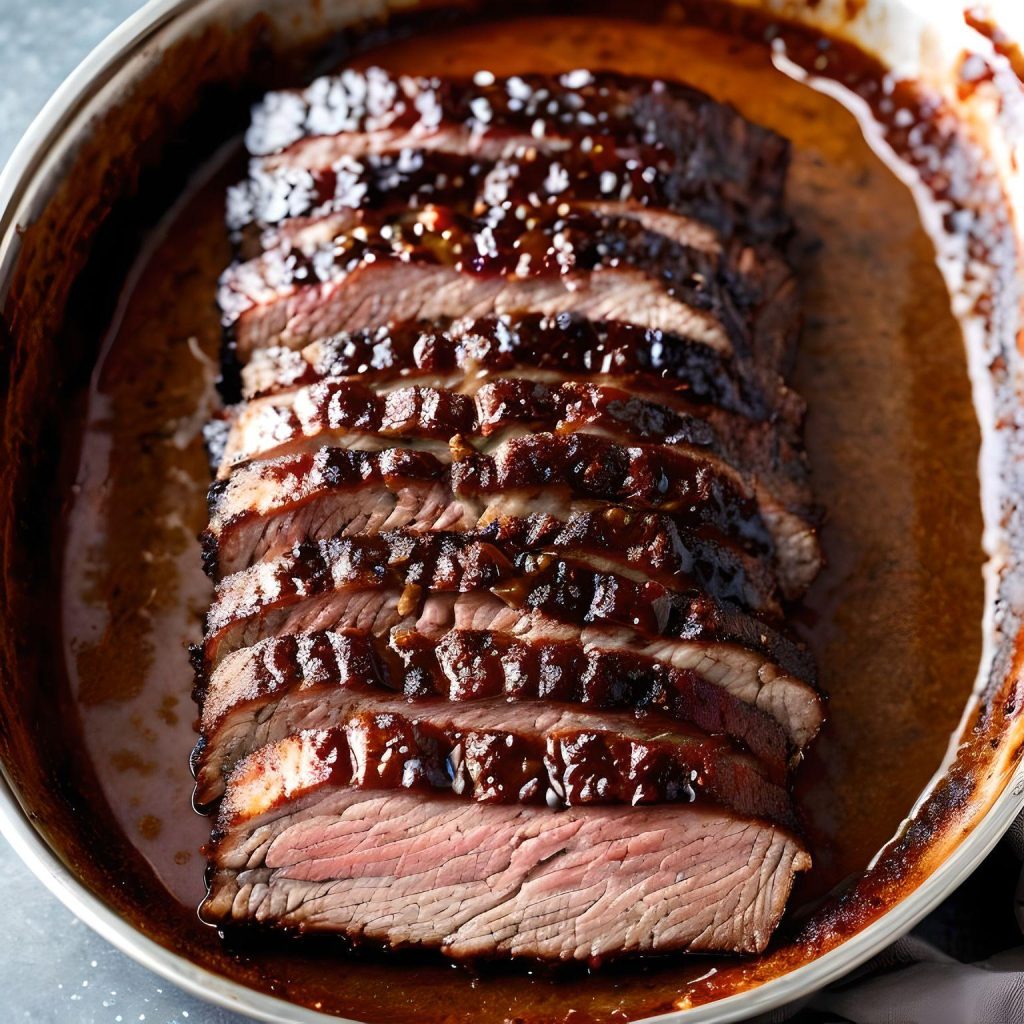
9. Smoked Brisket Queso

Indulge in the rich flavors of smoked brisket by dicing it and incorporating it into your queso. It’s a decadent treat for meat lovers.
10. Smoked Corn Queso

For a delightful twist, smoke fresh corn on the cob before removing the kernels and adding them to your queso. The sweet, smoky corn adds a unique dimension to the dip.
These 10 variations of the Best Smoked Queso Recipe offer a diverse range of flavors and ingredients, allowing you to customize your queso to suit different occasions and tastes. Enjoy experimenting with these delicious options!