Ok, so there’s not actually any pumpkin in this cashew butter, but there also isn’t any in the Starbucks beverage that inspired this recipe! Sorry to be the bearer of bad news folks, but “pumpkin flavored syrup” means one thing: artificial flavor. <– That’s one thing you will most certainly NOT find in this delicious cashew butter.
I chose cashews over almonds, peanuts, walnuts, or pecans, because they have a mild flavor that allows the pumpkin pie spice & espresso powder to take center stage.

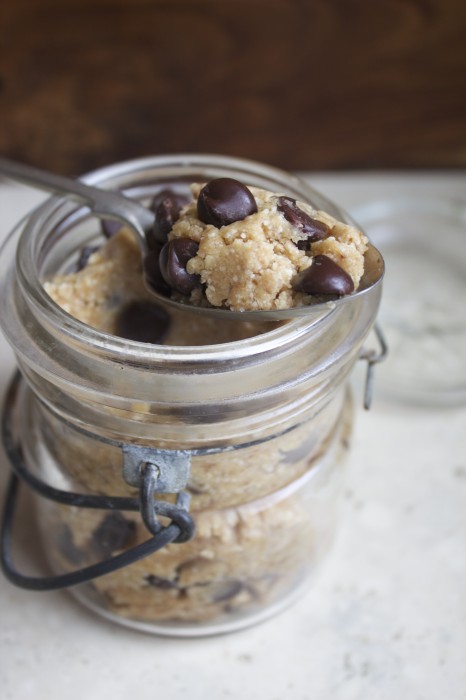
Neither the coffee flavor nor the spices are overwhelming, and they blend beautifully together in the creamy cashew butter.

I did end up needing to add a bit of vegetable oil to thin out the butter a bit; you may not, so just go by your desired

]
| Name | Pumpkin Spice Latte Cashew Butter |
|---|---|
| Cuisine | Fusion (Coffee, Pumpkin, Spices) |
| Prep Time | 15 minutes |
| Cooking Time | 10-12 minutes (roasting cashews) |
| Total Time | 30 minutes |
| Servings | Makes about 2 cups of cashew butter |
| Yield | Varies |
Ingredients
- 2 cups raw cashews
- up to 1 tsp vegetable oil (for a thinner, more drippy consistency), if desired
- 1 Tbps unrefined cane sugar
- 1 tsp ground cinnamon
- 1/4 tsp ground ginger
- 1/8 tsp each ground nutmeg & cloves
- 1/2 Tbsp instant espresso powder
Instructions
Preheat oven to 350°F.
Spread cashews evenly on a rimmed baking sheet and bake for 15 minutes, stirring once.
Place cashews in the bowl of a food processor fitted with the steel blade. Process until smooth & creamy, about 10 minutes, scraping down the sides of the bowl as needed. If the cashew butter is too thick, stream in the vegetable oil through the feed tube, 1/4 tsp at a time, until desired consistency is reached.
Add in sugar, spices, and espresso powder and process until fully combined.
Store at room temperature.
Nutrition Information
- Calories: 120 calories
- Total Fat: 10 grams
- Saturated Fat: 2 grams
- Trans Fat: 0 grams
- Cholesterol: 0 milligrams
- Sodium: 0 milligrams
- Total Carbohydrates: 7 grams
- Dietary Fiber: 1 gram
- Sugars: 2 grams
- Protein: 4 grams
- Vitamin D: 0%
- Calcium: 1%
- Iron: 8%
- Potassium: 90 milligrams