Scrolling down the cereal aisle of my local supermarket, I often put myself in a dilemma picking my next breakfast meal. But given all the proclaimed health benefits and possible marketing gimmicks, I often reach out to Honey Bunches of Oats.
It helps that it’s super delicious!
But is Honey Bunches of Oats healthy? Does it provide you with all the proximate principles of food at the start of the day? Will it keep your wonderful body in shape? The answer is yes and no.
And that’s what we’ll discuss today.
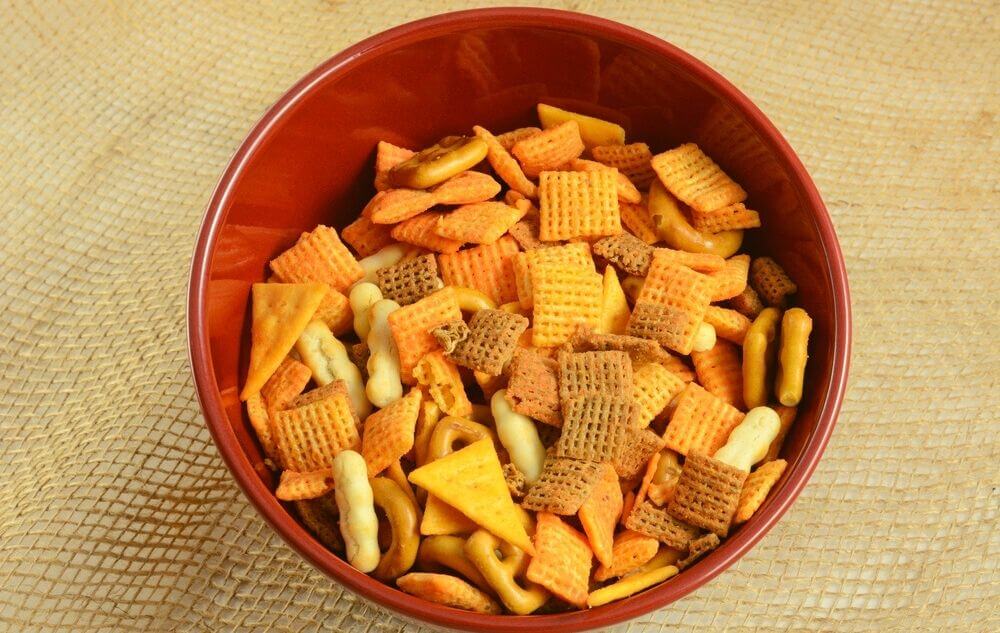
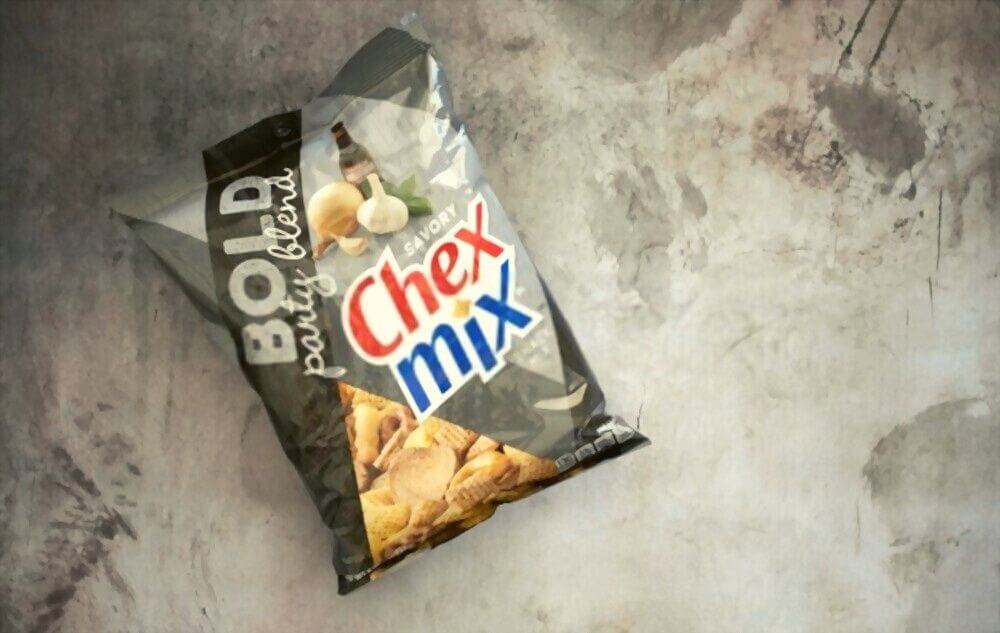
You may also like: Is Chex Mix Healthy?
Are Honey Bunches of Oats Healthy to Eat

Just like anything else in our lives, Honey Bunches of Oats have its pros and cons. Keep on reading to find out which one overrules the other:
The Pros
It is Fortified:
FDA has mandated the fortification of breakfast cereals, including Honey Bunches of Oats with essential minerals and vitamins. If you are anywhere near being health-conscious, this is nothing but fantastic news.
It is specially enriched with the vitamins of the B complex, which are helpful for hemopoiesis or generating blood in your body.
But beware, consuming unprescribed vitamin supplements while your breakfast consists of fortified cereal disposes you at the risk of hypervitaminosis-related complications.
Low in Calorie:
A calorie is a blessing and a curse. The modern world has fallen into a bottomless abyss where everyone finds low-calorie alternatives to their favorite foods. Honey Bunches of Oats is the bearer of good news in this case.
Thirty grams of this cereal will only provide 120 calories. But at the same time, it will satisfy your hunger and appease your appetite. Adding some fruits and nuts will make it no less than a scrumptious luxury.
Good for the Ladies:
Research by the World Health Organization shows that females of reproductive age are at a greater risk of suffering from iron and folic acid deficiencies. This results in an increased neonatal mortality rate, neural tube defect, and anemia.
Honey Bunches of Oats is an amazing source of iron and folic acid. Meanwhile, since it is usually consumed with milk, the protein content will enhance the meal’s nutritional value.
Grains Equal Gains:
Honey Bunches of Oats has relatively more whole grains like whole wheat, bran, rice, corn, etc. Grains are beneficial for the prevention of obesity and also work to reduce cholesterol.
Unrefined grains will keep you full for a longer time. Also, it will provide you with roughage that you will be thankful for in the restroom since it improves bowel movement.
You may also like: Is raisin bran healthy for you?
The Cons
Pass me the Sugar, Cougar:
Like most cereals on the market, this one is loaded with refined sugar. It acts to camouflage for the absence of the honey it claims it has. As the header suggests, your blood sugar might go haywire as fast as a cougar if you consume Honey Bunches of Oats frequently.
Starting your day with an unreasonably sugary meal will cause unwanted fluctuation in your insulin secretion. This might eventually result in type 2 diabetes.
Besides being overweight, obese, and having an increased tendency to snack, this unhealthy sugar level might cause you to crave more sugar. It becomes a vicious cycle.
An article published in the British Journal of Sports Medicine states that sugar is more addicting than cocaine (although this information has a degree of extravagance and a smell of controversy, I think it is safe to say that sugar is addictive).
Low in Protein:
Honey Bunches of Oats is alarmingly low in protein. A diet designed absent-mindedly that focuses on cereals like this will lead to protein-deficient malnutrition.
A low protein diet is a significant cause of physical weakness, mental retardation, loss of concentration, hindering biological well-being.
Populations that consume more carbohydrates than protein and fat tend to have a higher body mass index and greater chances of cardiovascular complications and hypertension.
Gluten-Tag to Intolerance:
Honey Bunches of Oats contains gluten. A wide range of the population suffers from gluten intolerance due to a genetically inherited metabolic defect.
Even just a small portion of this cereal will cause you bloating, exhaustion, and diarrhea if you have gluten intolerance. It doesn’t sound like a situation you would fancy being in.
Honey, Have You Seen My Oats?
This brand (and the sub-brands under similar names) advertise in a way that brainwashes you into thinking: since it contains honey, it must be appreciable. It is said to be corporate propaganda. I don’t know about that, but these oats probably have not seen much honey lately.
Honey Bunches of Oats contain only a tiny amount of honey to legalize the packaging that states the presence of honey. While you are marveling about how great these tastes, you are just feeding yourself spoonful of sugar—spoiler alert: a pretty bad choice.
The Name Itself:
It is neither honey nor oats. When you pour yourself a bowl of it, you will see cornflakes. Surprising, I know.
You will end up double-checking your packaging. Did you buy the wrong product? If you intended to eat cornflakes, you could have just bought that. That would have been much cheaper, and you would have more varieties to choose from.
Your Child Will Love it:
Yes, it is under the cons list. And no, it is not sarcasm. Your child will love Honey Bunches of Oats and will refuse to eat any other genuinely healthy cereal option.
I remember myself being addicted to honey loops as a child. I would be livid when my mother tried to switch me for a cheaper and better cereal. Being exposed to such sugary products early in childhood will also make them more prone to snacking on junk food and ultra-processed foods to satisfy their cravings.
Misleading Serving Size:
I will slightly contradict what I previously said in the beginning about Honey Bunches of Oat being low in calories. There is a loophole.
While most food products state their nutritional values per 100 grams, this one calculates as per 30 grams. But who eats only 30 grams ( ¾ cup) of oats for an actual breakfast? Your minimum requirement as an adult of regular size would be twice that.
Frequently Asked Questions (FAQs)
Is Honey Bunches of Oats healthier than Cheerios?
After some studies, Huffingtonpost found that Cheerios are healthier than Honey Bunches of Oats.
How many calories are in a bowl of Honey Bunches of Oats with milk?
It’s around 163 calories.
Do Honey Bunches of Oats have almonds?
Yes, they do. So, if you suffer from Oral Allergy Syndrome, you should avoid it.
Conclusion
Still wondering, are Honey Bunches of Oats healthy? Honey Bunches of Oats isn’t exactly an ideal food, but I wouldn’t call it junk food either. If you want to, eat it in moderate amounts, and you will be all good.
For your everyday breakfast, opt for something simpler like raw milled oats. Easy on your money, easy on your body.