Home Blog Page 123

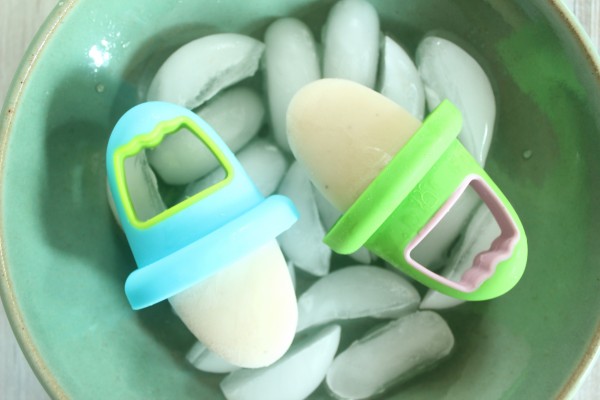
Sleepy time Baby Banana Pops

0

I was first introduced to the idea of incorporating chamomile tea in baby popsicles by a fellow mom of a parents group I am a member of.  She is knowledgeable about herbal remedies for kids/babies, and cleverly refers to the frozen treats as “herbsicles”.
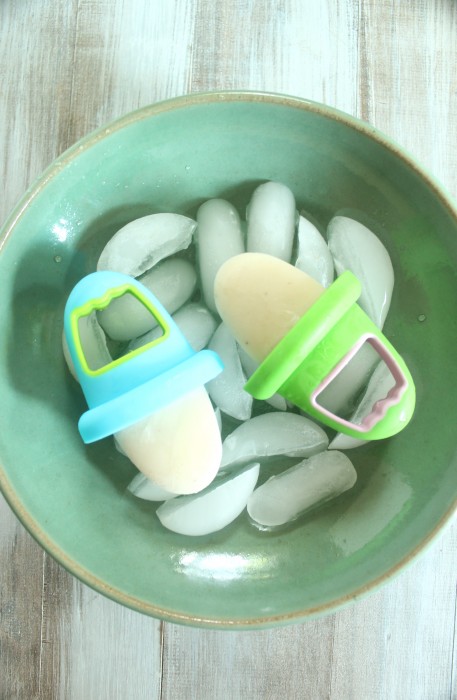
Chamomile is a gentle, naturally caffeine-free herb that not only has the ability to induce a calm demeanor conducive to sleep, but can also settle gastrointestinal upsets, which are common amongst babies. Fortunately, Lily has never suffered from colic, but she is a wakeful 8 month old who sometimes has difficulty settling down for sleep; especially now that she’s actively exploring her new world!

The other two ingredients in these pops – yogurt & banana – are also recognized as gentle & natural sleep aids. The former contains tryptophan (yep, just like Thanksgiving Day turkey!), and calcium, which can reduce stress. The latter are chock full of both magnesium & potassium, which can relax overactive muscles.

I know there is some concern about giving babies dairy products before the age of one, but yogurt & cheese are generally considered safer than cow’s milk. Here’s more information on the topic if you’re interested.

So… am I claiming that these tasty little pops will turn your son or daughter into a magicsleepingbaby? Of course not! But if there’s even the slightest chance that they might help to mellow your baby before bed or naptime, isn’t it worth a shot?

Lily loves the popsicles, but big kids and adults are sure to enjoy them as well!

Sleepytime Baby Banana Pops

NameSleepy Time Baby Banana Pops
CuisineMixed
Prep Time15 minutes
Cooking Time0 minutes
Total Time2-3 hours (including freezing)
Servings4 servings
Yield8 banana pops (2 per serving)

Ingredients (yield depends on size of popsicle molds)

  • 1 medium-sized very ripe banana, preferably organic, peeled
  • 1/2 cup plain whole milk yogurt, preferably organic
  • 1/2 cup brewed chamomile tea, cooled completely

Instructions

Combine all ingredients in a blender or food processor. Blend/process until smooth.

Pour into baby popsicle molds (I like these). Freeze until frozen, at least 2-3 hours for small molds (longer for larger molds).

Estimated Nutrition per Serving

Note: Nutrition values may vary based on specific ingredients and optional toppings used.

  • Calories: 80 calories per serving
  • Protein: 2 grams per serving
  • Carbohydrates: 15 grams per serving
  • Dietary Fiber: 2 grams per serving
  • Sugars: 8 grams per serving
  • Fat: 2 grams per serving
  • Saturated Fat: 0 grams per serving
  • Cholesterol: 0 milligrams per serving
  • Sodium: 5 milligrams per serving

Please keep in mind that these nutrition values are estimates and can vary depending on the specific brands and quantities of ingredients used. If you have specific dietary concerns or requirements, it’s advisable to calculate the exact nutritional information based on your ingredients and serving sizes. Enjoy your Sleepy Time Baby Banana Pops!

Chocolate Chip Buttermilk Pancake Muffins

0

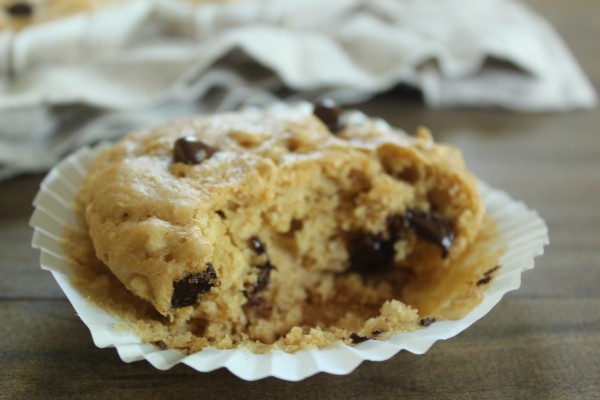
I’d love to tell you that the whole “pancake muffin” concept behind this recipe was intentional, but sadly… no. You see, I bought these square muffin liners, thinking they were the kinds that can stand on their own without the support of a muffin tin. As soon as I scooped the muffin batter into the cups, though, I realized I was sorely mistaken. As the muffins baked, the batter spread, and the muffins took on a pancake appearance.

Buuuuut, these muffins’ appearance is not the only trait that resembles pancakes. The buttermilk & maple syrup in the batter lends a flavor reminiscent of the classic breakfast food as well.

Think of ‘em as pancakes you can eat one-handed on the way to work or school.

Soft, moist, chewy, and dotted with decadent dark chocolate chips, these pancake muffins might have an identity crisis when it comes to exactly which breakfast food they actually are, but don’t let that stop you from making them!

Chocolate Chip Buttermilk Pancake Muffins

NameChocolate Chip Buttermilk Pancake Muffins
CuisineAmerican
Prep Time15 minutes
Cooking Time18 minutes
Total Time30 minutes
Servings12
Yield1 muffin per serving

Ingredients (12 pancake muffins)

  • 1 1/2 cups whole wheat pastry flour
  • 1/2 cup old-fashioned rolled oats
  • 2 tsp baking powder
  • 1/2 tsp baking soda
  • 1/2 tsp salt
  • 3/4 cup low fat buttermilk, well shaken
  • 1/3 cup pure maple syrup, preferably Grade B
  • 1 large egg, preferably organic
  • 2 Tbsp vegetable oil
  • 1 tsp pure maple extract
  • 1 tsp pure vanilla extract
  • 1 cup dark chocolate cups

Instructions

Preheat oven to 375°F. Place 12 muffins liners on a baking sheet.

In a large bowl, whisk together the flour, rolled oats, baking powder, baking soda, and salt.

In a medium bowl, whisk together the buttermilk, maple syrup, egg, oil, and both extracts.

Toss the chocolate chips with the flour mixture. Add the wet ingredients into the dry and stir just until incorporated.

Divide the batter evenly amongst the muffin cups.

Bake until a toothpick inserted into the center of a muffin comes out clean about 15 minutes.

Serve warm or at room temperature.

Estimated Nutrition Per Serving

  • Calories: 190 kcal
  • Total Fat: 7g
    • Saturated Fat: 4g
    • Trans Fat: 0g
  • Cholesterol: 30mg
  • Sodium: 200mg
  • Total Carbohydrates: 28g
    • Dietary Fiber: 1g
    • Sugars: 8g
  • Protein: 3g

Please note that the nutrition information provided here is an estimate and may vary depending on specific ingredients and brands used in the recipe. It’s always a good idea to calculate precise nutrition information if you have dietary restrictions or specific health concerns.

Baked Cherries and Peaches with Oat Topping

0

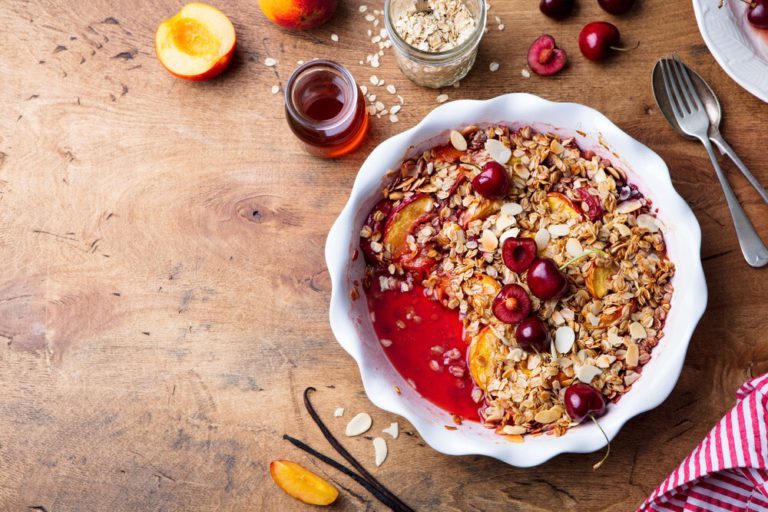
I was tempted to entitle this recipe “Cherry-Peach Crisp”, but the truth of the matter is this healthier version of the classic dessert differs from the original in many ways.

The filling relies on the natural sweetness of in-season fresh stone fruit, so there is no need for added sugar. In lieu of butter or oil for the oat topping, I used unsweetened apple butter; this ingredient results in a chewy rather than crunchy topping, hence my hesitation to call this a “crisp”.

Equally well-suited for a light breakfast served with Greek yogurt or as a guilt-free dessert, this cup of fruity and oat-y tastiness showcases the healthful ingredients of a traditional fruit crisp with none of the unhealthy components.

Baked Cherries and Peaches with Oat Topping

Baked Cherries and Peaches with Oat Topping

NameBaked Cherries and Peaches with Oat Topping
CuisineFusion
Prep Time15 minutes
Cooking Time40 minutes
Total Time55 minutes
Servings6 servings
YieldOne 9×9-inch baking dish

Ingredients

  • 2 cups pitted & halved fresh sweet cherries, preferably organic
  • 2 medium-sized peaches, preferably organic, peeled, pitted and chopped
  • 1 tsp arrowroot powder OR cornstarch
  • 2 Tbsp fruit juice (I used POM Wonderful), divided
  • 3/4 cup old fashioned rolled oats
  • 2 Tbsp flour (all-purpose or whole wheat pastry flour will work best)
  • 2 Tbsp Sucanat or brown sugar
  • 1 tsp ground cinnamon
  • 2 Tbsp unsweetened applesauce OR unsweetened apple butter

Directions

  1. Preheat oven to 400 degrees F.
  2. Lightly coat 4 individual oven-safe ramekins with canola oil cooking spray.
  3. In a small bowl, combine the cherries, peaches, arrowroot or cornstach, and 1 Tbsp pomegranate juice. Stir to mix well and spoon into the prepared ramekins.
  4. In a separate small bowl, stir together the oats, flour, Sucanat, and cinnamon. Add the remaining 1 Tbsp pomegranate juice and applesauce or apple butter; stir to moisten the oat mixture.
  5. Evenly divide the oat topping between the fruit-filled ramekins.
  6. Set ramekins onto a baking sheet and bake until the fruit filling is bubbling and the oat topping is golden, about 20-25 minutes.
  7. Allow to cool on a wire rack. Serve warm or at room temperature (or chilled the next morning for breakfast!).

Estimated Nutrition Per Serving

  • Calories: 280 calories per serving
  • Fat: 12g
    • Saturated Fat: 7g
    • Trans Fat: 0g
  • Cholesterol: 30mg
  • Sodium: 100mg
  • Total Carbohydrates: 43g
    • Dietary Fiber: 4g
    • Sugars: 26g
  • Protein: 3g
  • Vitamins and Minerals
    • Vitamin A: 15% DV
    • Vitamin C: 15% DV
    • Calcium: 3% DV
    • Iron: 8% DV

Please note that these nutrition values are estimated and can vary based on the specific brands and quantities of ingredients used. Additionally, serving sizes may vary, so adjust the portion size accordingly based on your dietary needs.

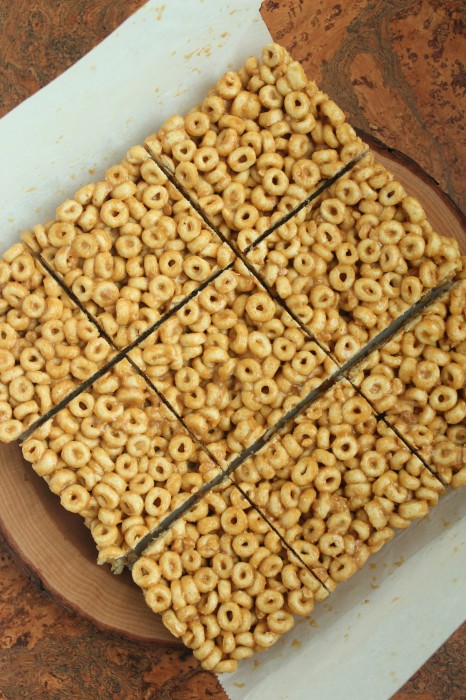
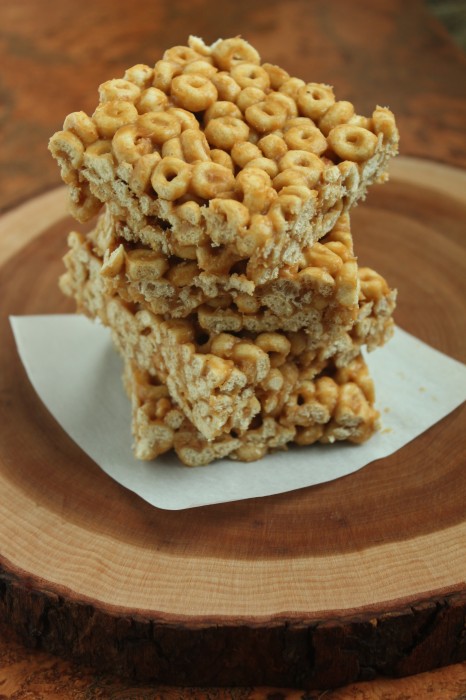
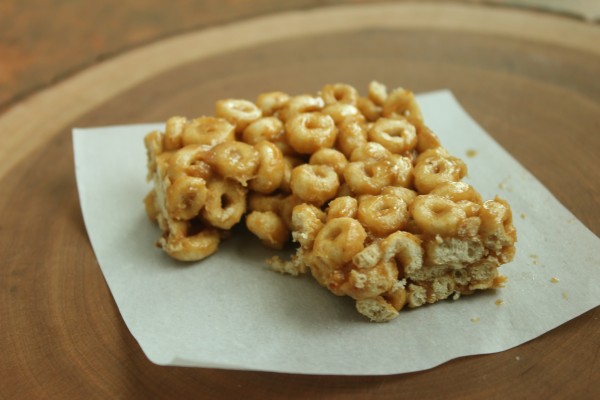
3 Ingredient Peanut Butter & Honey Cereal Bars

0

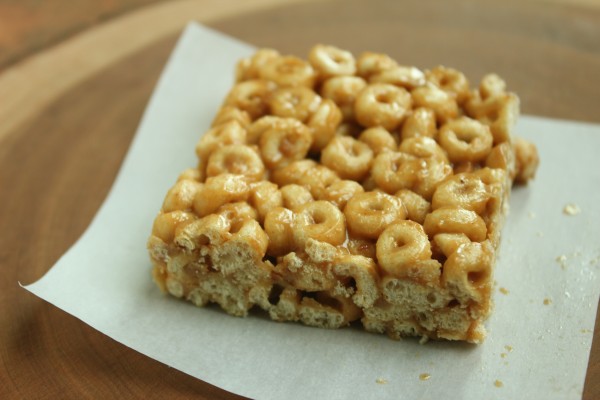
Here’s a perfect no-bake back-to-school snack/dessert, the ingredients for which you most likely already have in your kitchen; especially if you have kiddos.

I bought a huge box of toasted whole grain oats cereal (basically Cheerios) from Trader Joe’s a few weeks ago, with Lily in mind. I place a handful on her high chair tray every morning, and enjoy watching her rake palmfuls towards her mouth… though most end up on the floor. She hasn’t yet mastered her pincer grasp, but when she starts working on it, the O’s will be perfect for practicing.

Neither John nor I are big cold cereal eaters, and since Lily is going through the box very slowly, I decided to incorporate the O’s into a recipe.

Although these cereal bars are definitely kid-friendly, they’re not for tots under the age of one. If babies under 12 months of age eat honey, they could develop Botulism, and it is recommended to hold off on all nut products in order to stave off possible allergies.

Sorry Lil’… these are for Mommy and Daddy for the time being ;).

by Lauren Zembron (adapted from Honey-Peanut Squares)
Name:3 Ingredient Peanut Butter & Honey Cereal Bars
CuisineAmerican
Prep Time10 minutes
Cooking Time2 minutes (for melting peanut butter and honey)
Total Time1-2 hours (including chilling time)
Servings12 bars
Yield12 cereal bars

Ingredients (9 bars)

  • 1/2 cup crunchy natural peanut butter, well-stirred
  • 1/2 cup honey
  • 3 cups toasted whole grain oats cereal (I used Trader Joe’s O’s)

Instructions

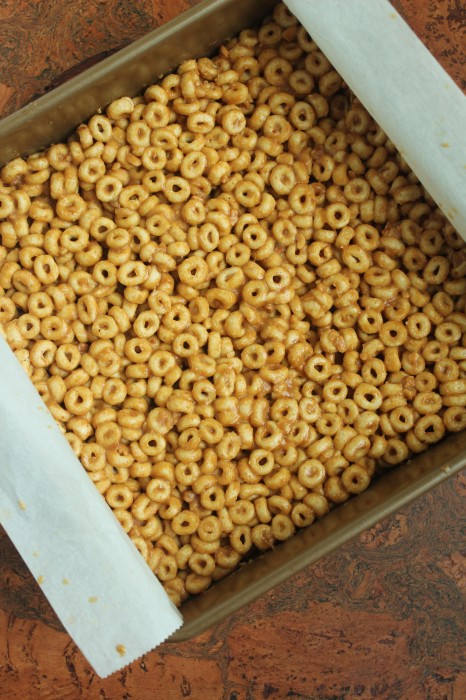
Line an 8 x 8 inch square pan with parchment.

Combine peanut butter & honey in a large saucepan and set over medium heat. Heat until mixture just starts to simmer, about 2-3 minutes, stirring. Remove from heat and stir until mixture is well-combined.

Stir in cereal until evenly coated. Pour mixture into prepared pan, cover with parchment, and press firmly. Let sit for 1 hour. Cut into bars.

Estimated Nutrition Per Serving (1 bar):

  • Calories: 140 calories
  • Protein: 4g
  • Carbohydrates: 17g
  • Dietary Fiber: 2g
  • Sugars: 9g
  • Fat: 7g
  • Saturated Fat: 1.5g
  • Cholesterol: 0mg
  • Sodium: 80mg
  • Potassium: 110mg
  • Vitamin C: 0%
  • Calcium: 1%
  • Iron: 6%

Please note that these nutrition estimates are approximate and can vary depending on the specific brands of ingredients used and any additions or substitutions made. It’s always a good idea to check the nutrition labels on your ingredient packages for the most accurate information if you have specific dietary concerns. Enjoy your cereal bars!

Apricot Jam

0

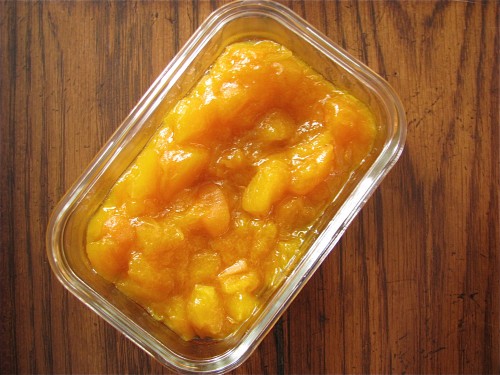
Boy, do I know how to pick ‘em. Yes, I’m being sarcastic and yes, I chose another batch of less-than-stellar summer fruit that I neither wanted to eat plain nor throw out. I’d been quite impressed by the fresh apricots that I bought at Trader Joe’s about a month ago, so I expected this bunch to be just as sweet and juicy. Not quite. In fact, these stone fruit were borderline sour which leads me to believe they were picked prematurely, before they had the chance to properly ripen.

Rather than pout and complain, I remedied the rather unfortunate situation by transforming the lackluster apricots into a deliciously simple jam. No need for either pectin or a gluttonous amount of sugar, this jam turned out perfectly thick and sweet. Given apricots’ natural affinity for a variety of foods, I bet this jam would be great as a glaze for grilled chicken, layered with plump blueberries and granola in a yogurt parfait, or spread with goat cheese on a piece of toast.

Apricot Jam

Apricot Jam

Ingredients:

  • 2 cups pitted & chopped fresh apricots (about 5 apricots), preferably organic
  • 1-2 Tbsp evaporated cane juice or granulated sugar, depending on sweetness of the apricots
  • 1 Tbsp water

Directions:

  1. Combine all ingredients in a small non-stick saucepan over medium heat.
  2. Bring to a boil, stirring frequently to dissolve sugar.
  3. Maintain boil for 10-15 minutes, or until apricots begin to break down and form a thick jam, stirring often to keep jam from sticking to pan.

Strawberry Sauce

0

Happy second day of summer!

Along with 2 1/2 months off from work, I have been eagerly anticipating the return of farmer’s markets. This time of year, various locations throughout Boston showcase vibrant, fresh, and aromatic produce ripe for the picking. Last Friday I walked to Copley Square with visions of lush fruit, sweet corn, and perfectly ripe tomatoes growing more vivid with each step. Along with other farm-fresh goodies, I arrived home with a carton of ruby-hued strawberries, picked just that morning.  I wasted no time gently rinsing the still-warm berries in preparation for that first blissful bite.

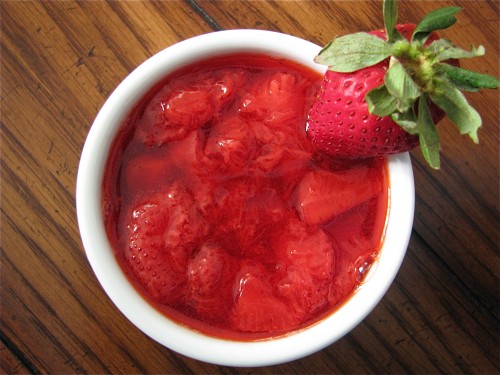
Oh boy, was I disappointed. The deceivingly gorgeous strawberries were watery and seriously lacking in the flavor department. Not to be deterred from enjoying these rather expensive berries, I brainstormed an easy way to “dress them up”. I initially thought of making strawberry jam, but a) didn’t have pectin on hand and b) didn’t want to add a ton of sugar to the lackluster berries. A simple strawberry sauce lightly kissed with agave nectar came to mind, and it came together in little time with minimal effort.

Strawberry Sauce

Use this luscious sauce as a…

  • topping for waffles, pancakes, or french toast
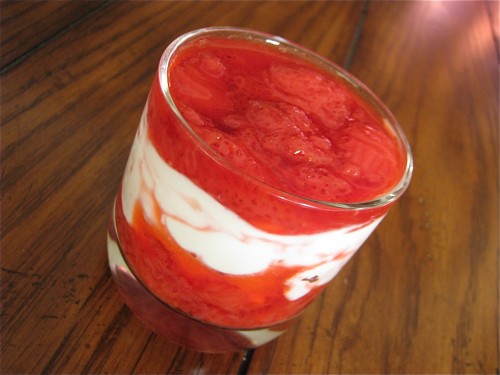
  • mix-in for plain yogurt (think homemade “fruit on the bottom” yogurt):
  • layer in a fruit/yogurt/granola parfait
  • topping for vanilla ice cream or frozen yogurt
  • dipping sauce for a peanut butter & banana sandwich/panini
  • layer in a whipped cottage cheese & graham cracker crumb “strawberry cheesecake” parfait
  • treat straight from the container!
Strawberry Sauce

Strawberry Sauce

Ingredients:

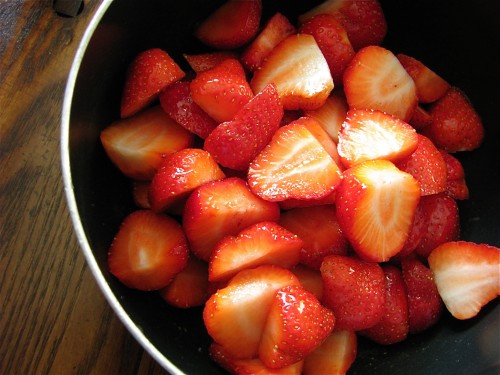
  • 1 lb freshly picked strawberries, preferably organic (even better if local!), washed, hulled & sliced in half
  • 1-2 Tbsp agave nectar, (I used Madhava Pure Organic Vanilla Agave Nectar), or more or less depending on sweetness of the berries

Directions:

  1. Combine prepared strawberries and agave nectar in a medium saucepan over high heat.
  2. When the agave begins to bubble, decrease heat to low and simmer until the strawberries break down and the mixture thickens slightly – about 40 minutes – stirring often.
  3. Allow to cool before coarsely mashing with a spoon.
  4. Store in the refrigerator for 1-2 weeks.

Summer Fruit Crisp

0

Unlike those strawberries and these apricots, the blueberries and nectarines used for this Summer Fruit Crisp were near perfect in their pure, unadulterated state. I typically have no problem tearing through a pint of berries or a bagful of stone fruit before they surpass their state of prime ripeness, but in this case I needed to put to quick use the dregs of a two pound carton of blueberries and a couple of soft nectarines.

You see, as we near the end of the season for these and other summer fruits, I have been buying more than I can eat. In one trip to Trader Joe’s I snagged the previously mentioned two pounds of blueberries in addition to two pounds of sweet red cherries, 1 lb of strawberries, a small container of raspberries, and four nectarines… not to mention my staple bunch of bananas. <Side note: for anyone who claims that organic produce is not affordable, go to the nearest Trader Joe’s. ASAP.>

Now, I could theoretically consume all of that fruit in one week, but I wouldn’t be eating much protein, whole grains, vegetables, or dairy to supplement… and my food philosophy is all about balance.

Summer Fruit Crisp

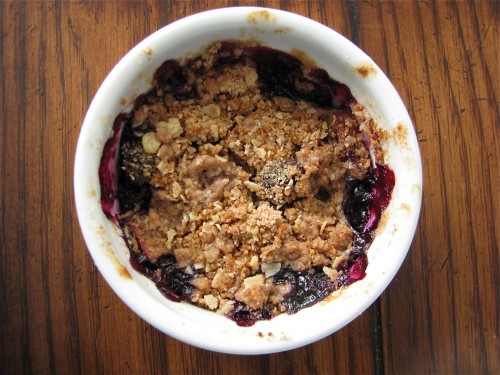
My solution to the overcrowded refrigerator produce drawers was to bake these individual crisps, one of which I ate for dessert later that evening, and the rest of which I wrapped up and stored in the freezer for future enjoyment.  You might do a double take when you see that the last listed ingredient is – gasp! – butter. It’s no secret that I rarely cook or bake with this ingredient, but a crisp just isn’t a crisp without a bit of butter mixed into the topping. This is inarguably a lighter version of a classic fruit crisp, but it is sweet and buttery enough to satisfy my craving for an indulgent dessert.

Summer Fruit Crisp

Summer Fruit Crisp

yields 5 servings

Ingredients:

  • 4 cups fresh & ripe summer fruit, pitted and chopped if including stone fruit (I used 2 cups organic blueberries & 2 cups chopped organic nectarines)
  • 1/4 cup + 1 Tbsp Sucanat or brown sugar, divided
  • 1/4 cup + 1 Tbsp whole wheat pastry flour, divided
  • 1/4 cup old fashioned rolled oats
  • 1 tsp ground cinnamon
  • 2 Tbsp chilled unsalted butter, cubed

Directions:

  1. Preheat oven to 350 degrees F.
  2. Coat 5 individual ramekins with canola oil cooking spray.
  3. In a medium bowl, toss fruit with 1 Tbsp Sucanat and 1 Tbsp flour. Spoon mixture into prepared ramekins.
  4. In the bowl of a food processor, combine the remaining 1/4 cup Sucanat, 1/4 cup flour, 1/4 cup rolled oats, and cinnamon. Pulse a few times until mixed. Add cubed butter into dry ingredients and pulse until crumbly. Sprinkle crisp mixture evenly over fruit-filled ramekins.
  5. Bake for 30 minutes, or until fruit filling is bubbly and crisp topping is golden.

Enjoy Your Summer Fruit Crisp!

Blue Cheese Smashed Potatoes

0

Sunday evening is typically the one night per week I reserve for a long-cooking homestyle dinner.  Especially in the winter, I find it comforting to spend the late afternoon hours preparing a main dish that perfumes the apartment with intoxicating aromas while simmering on the stove or braising in the oven.

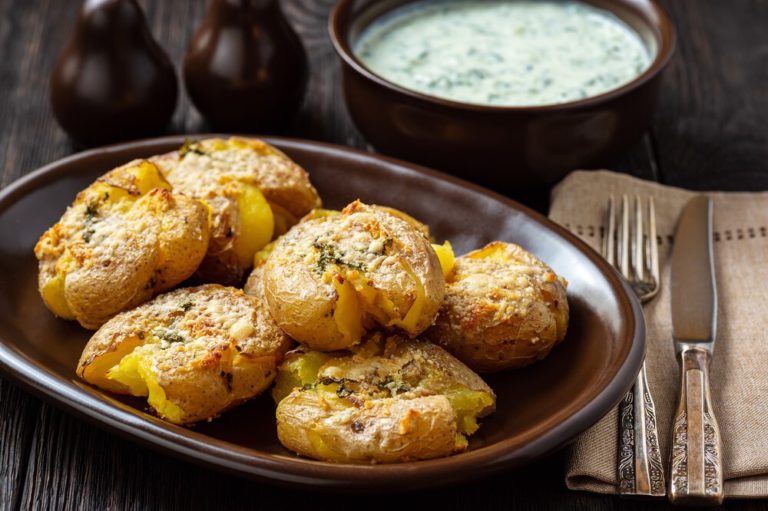
Today was such a Sunday. While the Wine-Braised Beef slowly cooked in the oven, I whipped up the perfect starchy accompaniment to soak up all of the succulent beefy juices: Blue Cheese Smashed Potatoes. Although they sound decadent, these smashed potatoes are actually quite healthy.  I wanted to pair the rich meat with lighter side dishes, and the roasted asparagus and blue cheese smashed potatoes were a great fit.

Smashed Potatoes

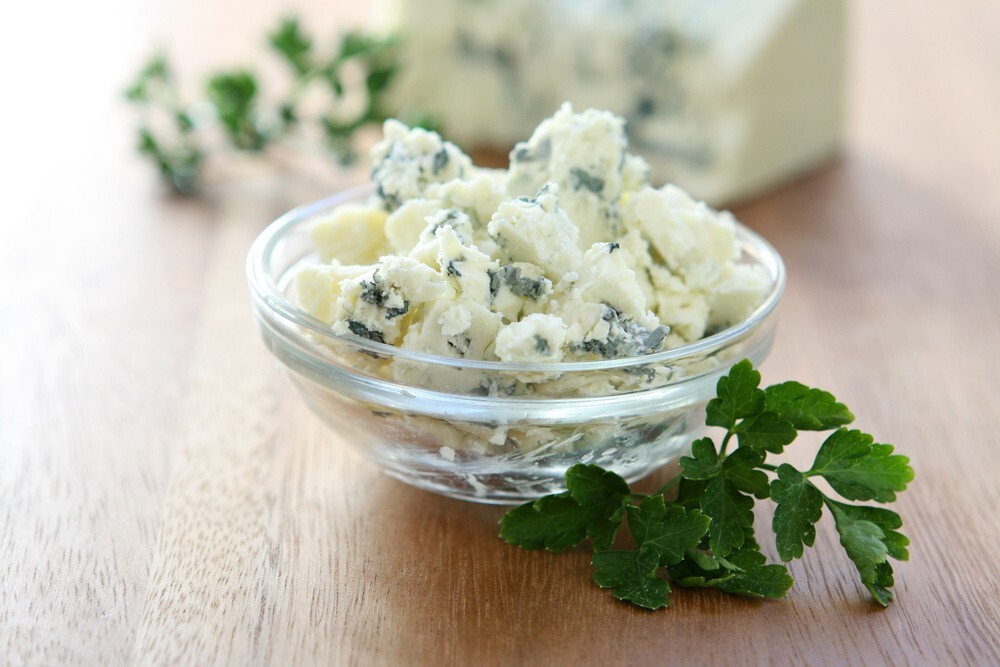
Yukon golds were the potatoes I had on hand, but red potatoes would be an excellent stand-in. Skim milk and 2% Greek yogurt are healthier options than the traditional whole milk and sour cream, and blue cheese punches up the flavor factor.  Blue cheese pairs particularly well with red meat, but these smashed potatoes would compliment chicken and pork as well.

If you’re looking for a way to liven up mundane smashed potatoes, toss in some blue cheese and you’ll be good to go!

Blue Cheese

Blue Cheese Smashed Potatoes

serves 4

  • 1 pound yukon gold potatoes, scrubbed and cut into quarters (about 2-inch pieces)
  • 1/4 cup skim milk
  • 1/2 Tbsp margarine or butter
  • 2 Tbsp 2% plain Greek yogurt
  • 3 Tbsp crumbled blue cheese, or more to taste
  • Kosher salt and freshly ground black pepper, to taste

Directions:

  1. Cover potatoes with cold water in a medium stock pot. Bring water to a boil, reduce heat to simmer, and cook the potatoes for 10-15 minutes, until easily pierced with a knife.
  2. Drain water from the pot, and add to the potatoes the milk, margarine, Greek yogurt, and blue cheese. Smash with a potato masher until desired texture is achieved. Season to taste with salt and pepper.

Thanks for reading!

White Chicken Chili

0

I challenge you to come up with a more comforting, soul- & body-warming winter meal than chili. Whether it’s Texas-style beef chili, turkey and bean chili, Cincinnati-style spaghetti chili, vegetarian chili, or white chicken chili, this filling one-pot dish is a hands-down favorite of many people during the winter months.

White Chicken Chili recipes

As I mentioned in this post, Sunday is typically the night of the week I devote to making a slow-cooking dinner. Chili is one of my favorite slow-cooking meals to make for many reasons: once all of the ingredients are in the pot, you can forget about it for 1-2 hours; the aroma it emits while cooking is nothing short of intoxicating; although chili warms you up, when prepared healthfully, it doesn’t weigh you down; and there is almost always extra chili in the pot after dinner, which inevitably tastes even better as leftovers.

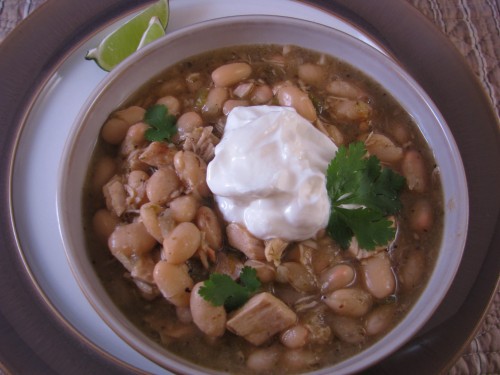
This recipe marks my first foray into making white chicken chili, and it managed to surpass my high expectations. The rotisserie chicken remained tender and succulent, and the white Northern beans held up surprisingly well during the long simmering process. The slight heat from the jalapeno hot sauce was nicely balanced by the cool Greek yogurt and tart lime juice. If you’re not a fan of cilantro (hi Dad!) feel free to omit it, but it is a tasty & fresh finishing touch for those of you who – like me and John – love the herb.

I’m already excitedly anticipating a steaming bowl of leftover chili for lunch!

White Chicken Chili recipes

White Chicken Chili

Yields 6-8 servings

adapted from Monkey See, Monkey Do…

  • 1 Tbsp extra virgin olive oil
  • 1 cup chopped onion, about 1 medium
  • 4 cloves garlic, minced
  • 1 Tbsp ground cumin
  • 1 Tbsp dried oregano
  • 1 Tbsp dried coriander
  • 2 (4 oz) cans chopped green chiles
  • 3 cans Northern beans, drained but not rinsed
  • 3 cups reduced sodium chicken stock
  • 2-3 cups chopped, skinless rotisserie chicken
  • 1 Tbsp jalapeno hot sauce (such as Tobasco), plus more if desired
  • Kosher salt and freshly cracked black pepper, to taste
  • chopped fresh cilantro, for garnish
  • Greek yogurt, for garnish
  • lime wedges, for garnish

Directions:

  1. Heat oil in a large dutch oven over medium-high heat. Add the onion and saute until softened, about 5 minutes. Add in the garlic and saute for 30 seconds. Add in the cumin, oregano, coriander, and green chiles. Saute for 30 seconds.
  2. Add beans and chicken stock to pot, bring to a boil. Add in the chicken and hot sauce. Reduce stove heat to low, cover pot, and simmer for 1 1/2 hours.
  3. Season to taste with salt and pepper, as well as extra hot sauce if desired.
  4. Serve with fresh cilantro, Greek yogurt, and a squeeze of lime juice.
White Chicken Chili recipes

Find more Recipes here.